If you’ve been using glass bubblers, bongs, or water pipes in your cannabis sessions, you know exactly how grimy and dirty those things can get.
If not, and you’re just learning more about them to make an informed purchase, then check out our glass bongs from Pure CBD Now. Now onto the article.
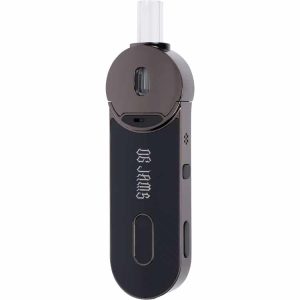
Yes, it’s true – a water filtration system greatly improves the flavor of your weed [which is why we’ve added it to the OG Jams vaporizer, which comes with a glass piece bubbler mouthpiece]. But you need to make sure that it receives regular maintenance so it doesn’t become a breeding ground for mold, bacterial growth, and dirt.
In this post, I’ll walk you through an easy five-step process of cleaning a vape glass bubbler
[or a water pipe]
:
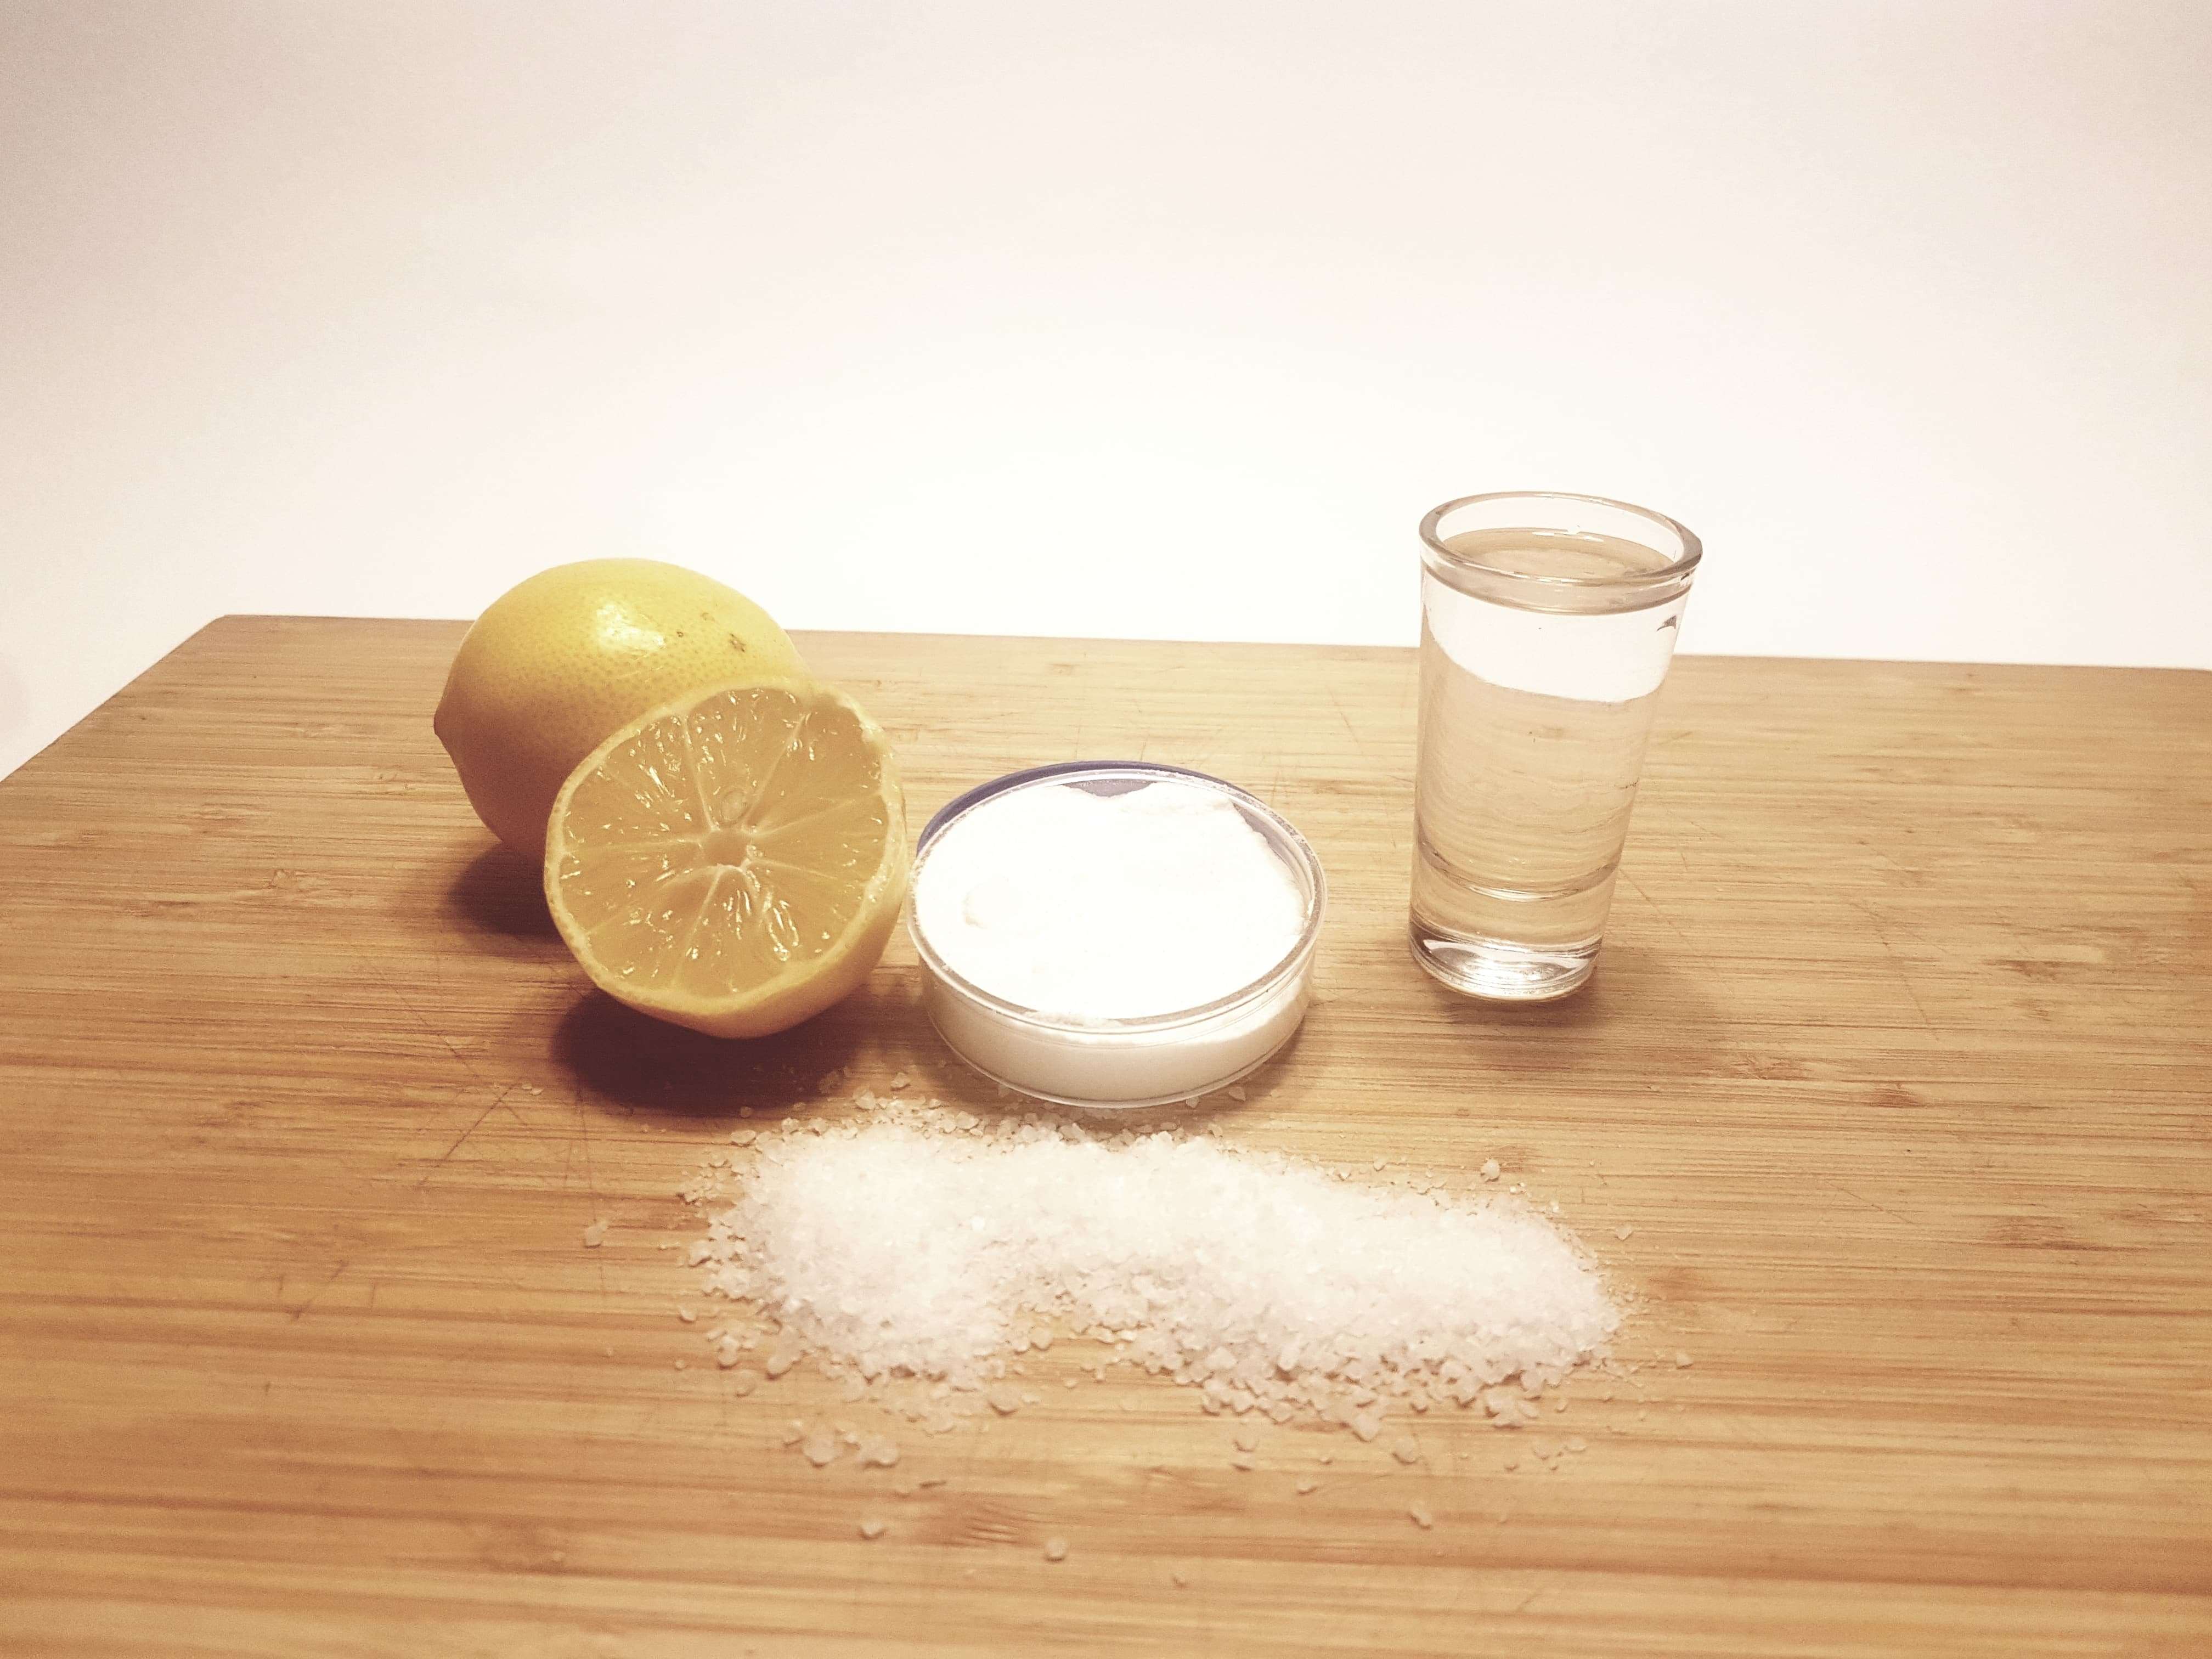
- Prepare your cleaning solution [rubbing alcohol or other natural options], water, and tools [pipe cleaners, cotton swabs, a paper towels].
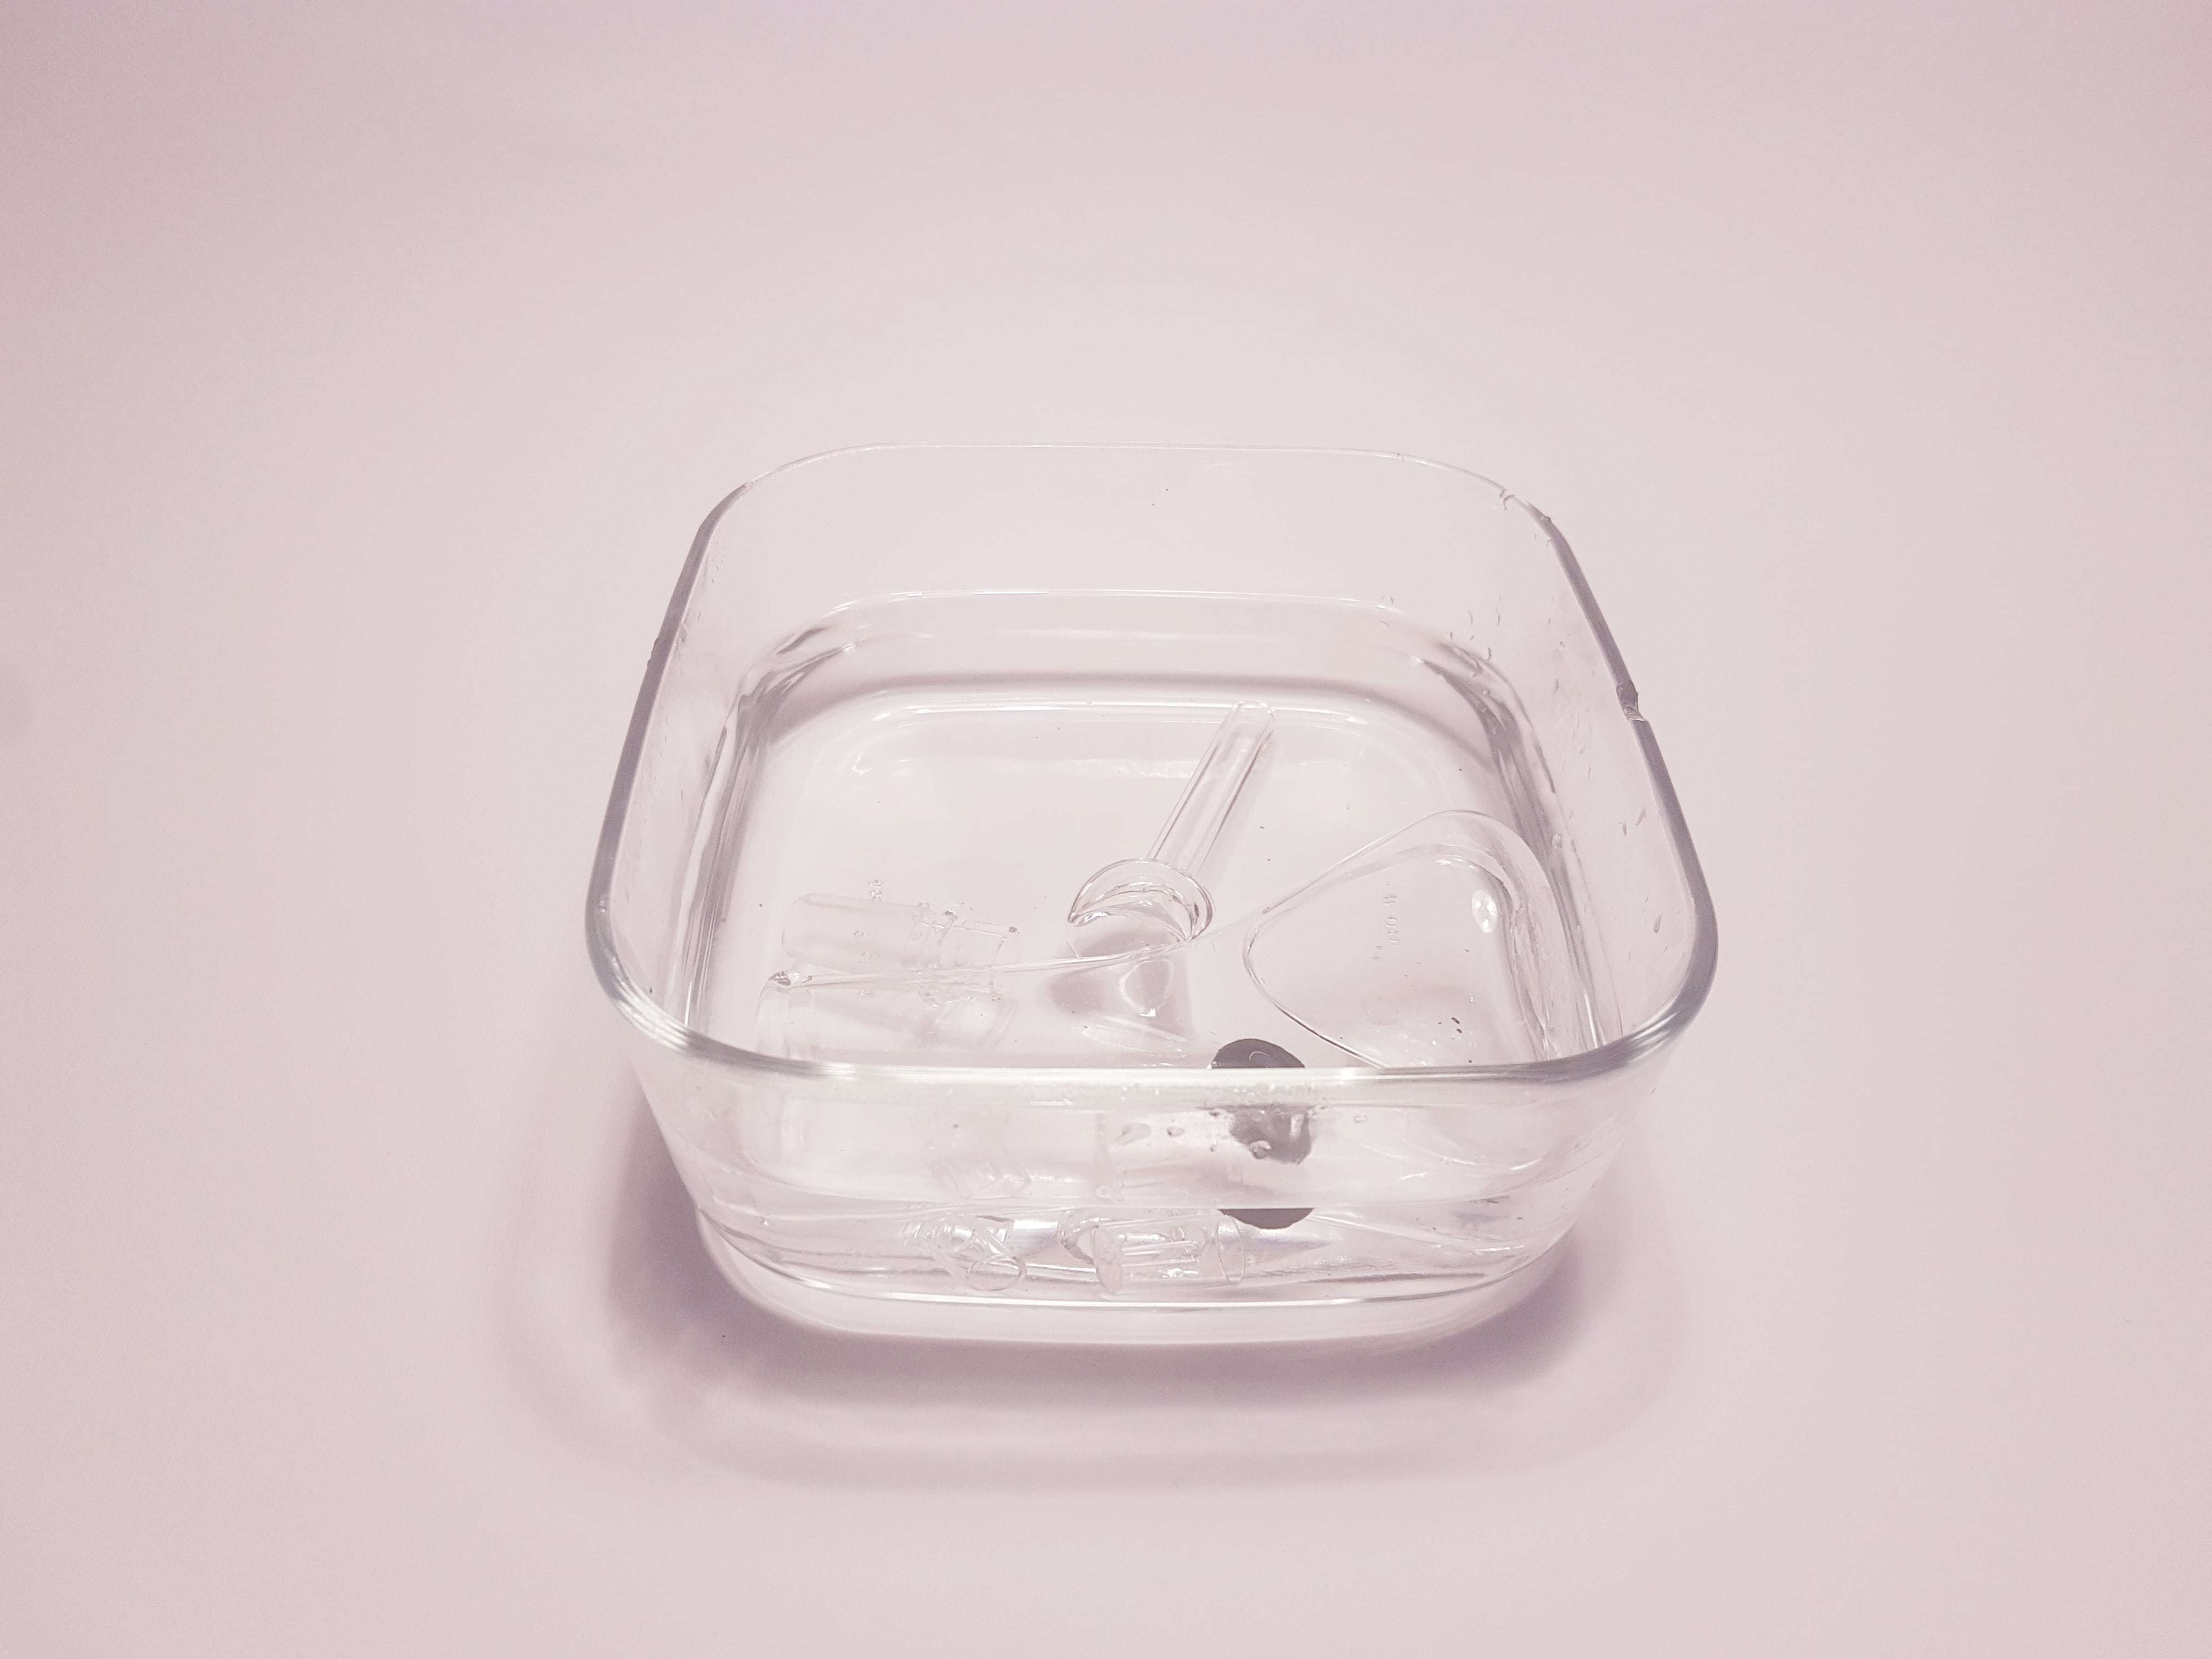
- Soak the glass pieces for a day inside and out [at least a few hours if you don’t have the time to leave them in water overnight].
- Rinse out in cold water and dry with a clean paper towel [check for accumulated resin and grime – repeat the soak if needed].
- Grab a Q-tip and/or glass pipe cleaning tools to clean those stubborn pieces of resin [careful as most glass pieces have an intricate design].
- Do a final rinse with cold water. Blow out excess water, dab dry with a clean paper towel and leave to dry.
That’s the quick and dirty version.
If you want details, read the rest of the post. I’ve added pictures of the whole process [cleaning a small glass bong and the OG Jams’s bubbler]. That said, there are many ways to skin this particular cat, though, especially when it comes to the cleaning solutions you use. Many people swear by professional cleaning kits, such as the Higher Standards Supreme Clean Kit, but you don’t have to use it. Common household items – like vinegar and baking soda and coarse salt – will do in a pinch… and you can get those at a grocery store.
The OG Jams Vaporizer is a Premium Weed Vaporizer
[comes with a FREE BUBBLER + GRINDER combo]
Click Here to Take Advantage of This Stellar Offer Today
Of course, the different methods here will work for small bubblers and big glass bongs alike. The only difference is that bigger glass pieces will be easier to clean without being constantly terrified of breaking them.
Want those pieces squeaky clean? Then let’s get to it!
The Best Way to Clean a Glass Bubbler
As I said, there are many ways to skin this cat…
… but all of those ways include getting your hands dirty!
There’s no dishwasher-ready way to do it [unless you’re using silicone bubblers or acrylic bongs which are dishwasher safe. In that case, go for it… just remember to keep them away from abrasive chemicals].
My favorite way to approach this is by using a cleaning solution of isopropyl alcohol, coarse salt, and warm water. So far, I’ve had the best success with it, and the whole process is faster than using other solutions [which I’ll come to in a second].
As for tools and supplies, you don’t need much to do the job. Here’s a complete list:
What Supplies Do You Need?
- cleaning solution [either isopropyl alcohol & rock salt solution, or a combo of white vinegar, baking soda, coarse salt, and lemon water].
- clean, warm water [in a bowl or a bottle].
- a small bowl or a plastic container, a plastic bag
[or a Ziploc bag will do]
, and rubber bands.
- cotton swabs, pipe cleaner, a paperclip, acetone.
- clean paper towels.
That’s it!
3 Additional & Natural Alcohol-Free Solutions You Can Use
As I mentioned, you don’t have to use rubbing alcohol here.
It’s just the fastest way to get rid of the grime and dirt, at least in my experience.
Still, there are three other, more natural mixtures, you can use [all made from household items and ingredients you certainly have]:
- White vinegar and salt – second best solution to use. Also, apple cider vinegar really eats through much and residue, and salt helps to dislodge it.
- Vinegar and baking soda – works well, but you need to soak your glass pipe and other pieces a bit longer.
- Warm water and lemon – when I say lemon, I mean lemon juice. This will work too, but you need to keep your pieces in for a long time [not months… but overnight is your best bet, for sure, especially with extra dirty pipes that see frequent use].
Of course, all these solutions are mixed with hot water [not boiling water]. And all you have to do to clean your vape’s glass bubbler or mouthpiece is follow the steps below.
household items, salt solution, rock salt, grime, baking soda, white vinegar, grocery store, products, coarse salt, lemon water,
5 Steps to a Clean Glass Bubbler, Bong, or a Glass Water Pipe
Step #1 – Prep your cleaning solution + tools
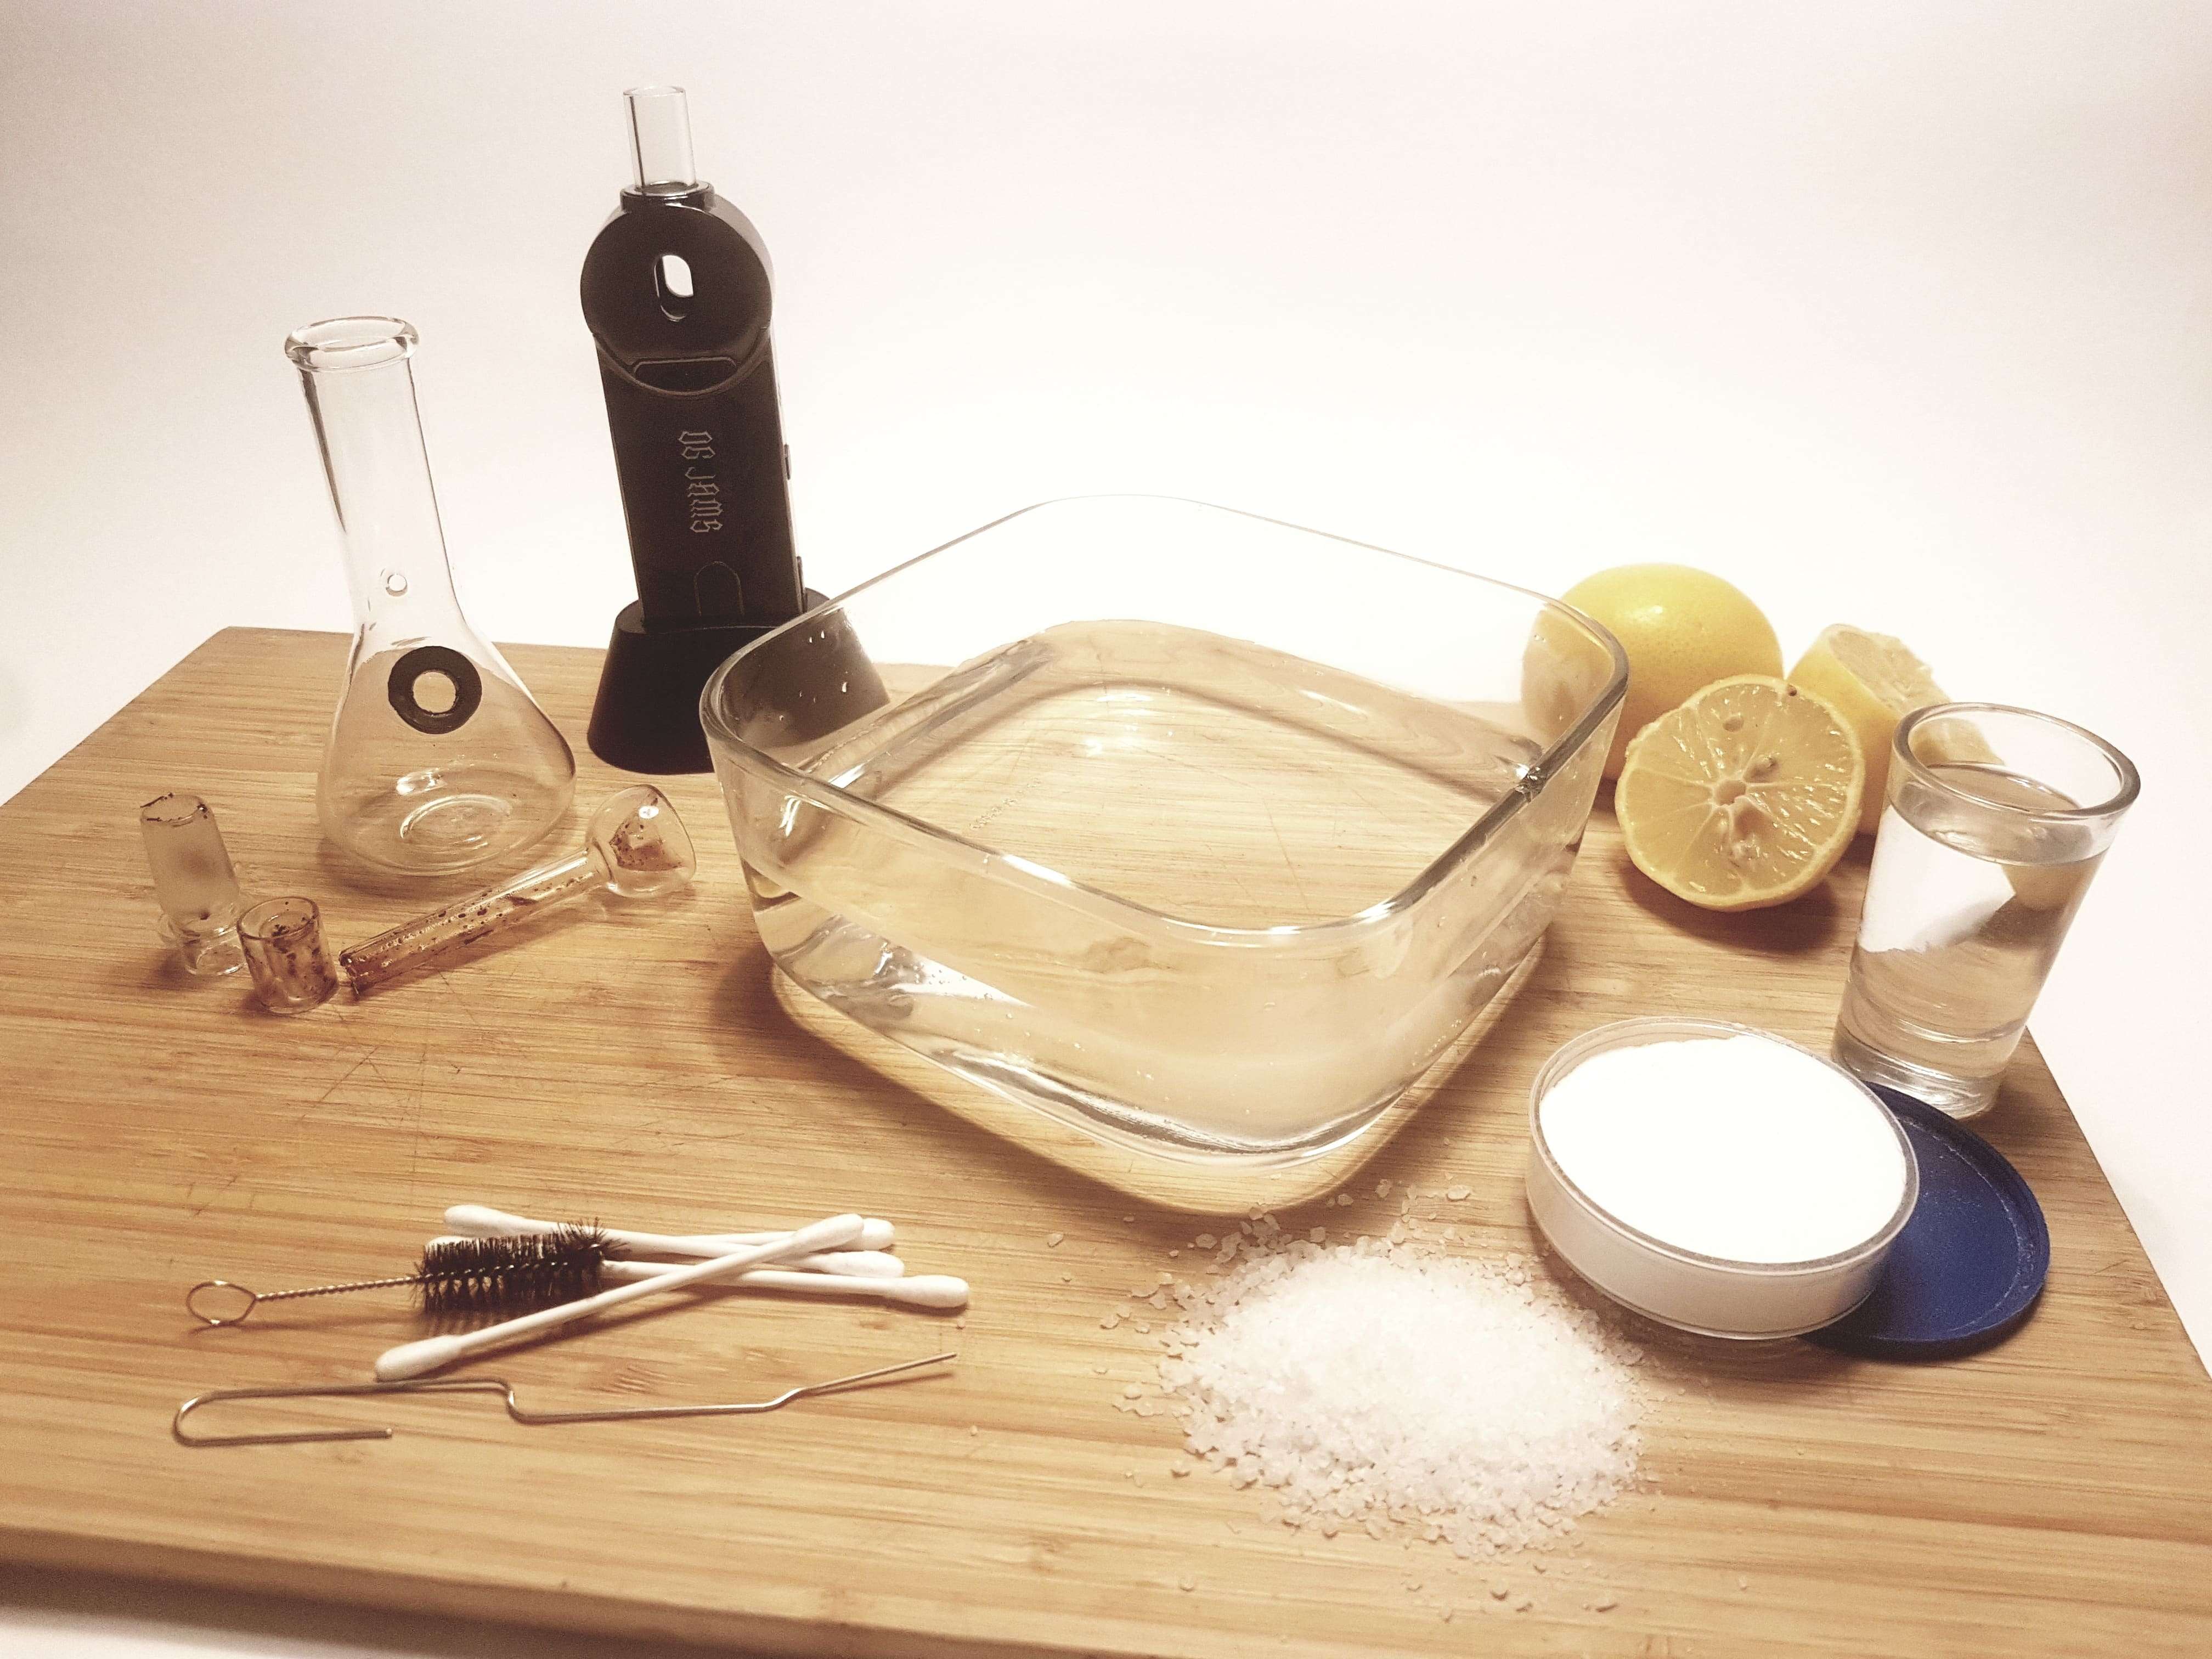
First thing, fill a dish with hot water and cleaning solution. If you’re using isopropyl alcohol, a lower concentration of alcohol will do [half half is best]. Add 3 large spoons of coarse salt to the mix [you can even stir it a bit].
Then, disassemble your bong into smaller pieces and prep them for soaking. Make sure to pour out any dirty bong water that might be in there. If you’re cleaning a one-piece bubbler mouthpiece, clean the outside of any caked-on sticky residue and grime.
Step #2 – Soak your glass in the mixture
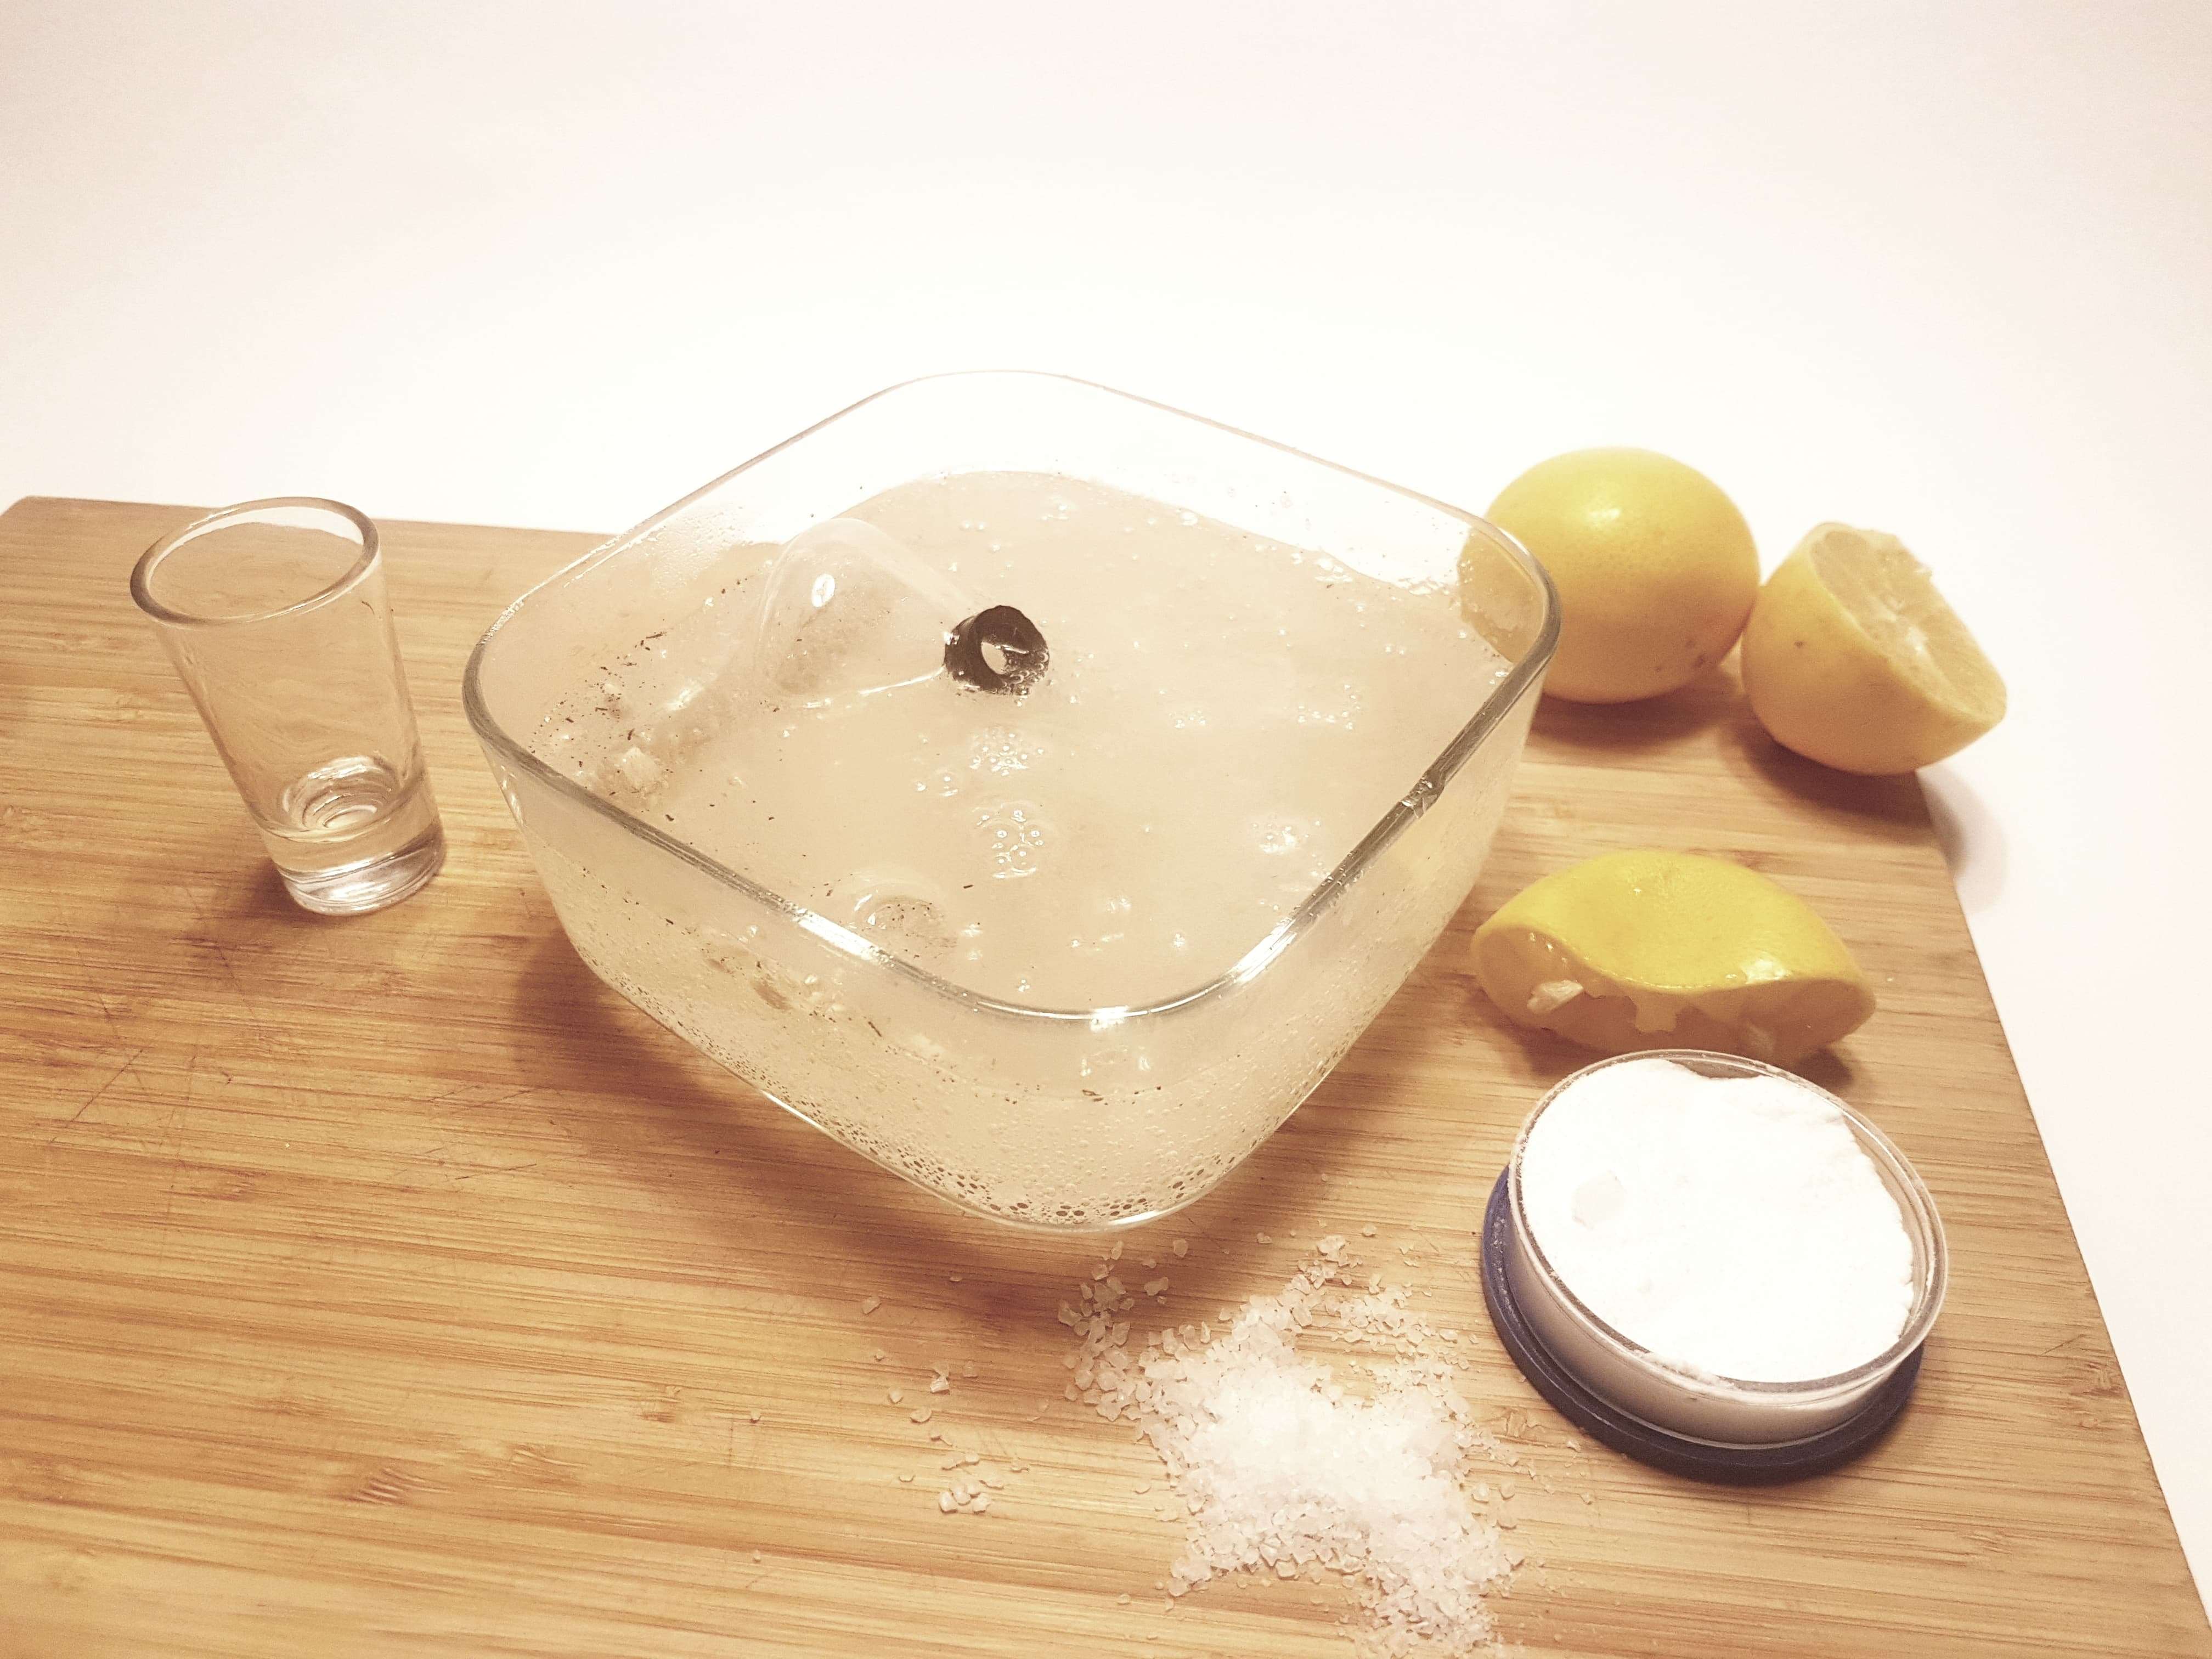
Now that you have your gear in pieces, place it in the container gently and let the bubbler soak for a few hours under the water line, at least… if not for a whole day. Don’t leave it in for a few minutes and then wonder why it doesn’t work. Minutes will do nothing. Hours will. If you get dirty water immediately, let it soak for an hour still, then replace it.
Alternatively, it could be a good idea to put your pieces in a plastic bag or a Ziploc bag, add the solution in there, and then seal the edges with rubber bands. This way, you can slowly and gently jiggle everything occasionally. This ensures that the salt has a chance to really get in there.
Step #3 – Take everything out and inspect it
After a few hours, check on the progress of your cleaning. Take the pieces out and run them through fresh water. If you still have a dirty pipe (meaning you can see debris and stains on it), run it again through cold water and wipe it with paper towels. Then proceed to the next step.
Step #4 – Use cotton swabs and paperclips to get out the caked dirt

In some cases, you’re going to have to go hardcore on everything. That’s where Q-Tips, bendy pipe cleaners, and a paperclip will come in handy. Be careful when doing this – almost every type of pipe that has complex designs and swirls is liable to breaking, especially small pipes and bubblers. Larger pieces are easy – take care with smaller ones that have small holes.
The best way to do it is to use a Q-Tip with acetone and then rub it on the dirty glass to get rid of the buildup of residue. It’s way easier to shift it this way.
Of course, in some cases a dirty bong will require multiple cleaning sessions, and if you’re looking for easier-to-maintain alternatives, several varieties of Tasters offer simpler cleaning routines due to their streamlined design, though understanding how different designs affect your smoking experience can help you choose the best bongs for your needs and maintenance preferences.
Step #5 – Give everything a final rinse
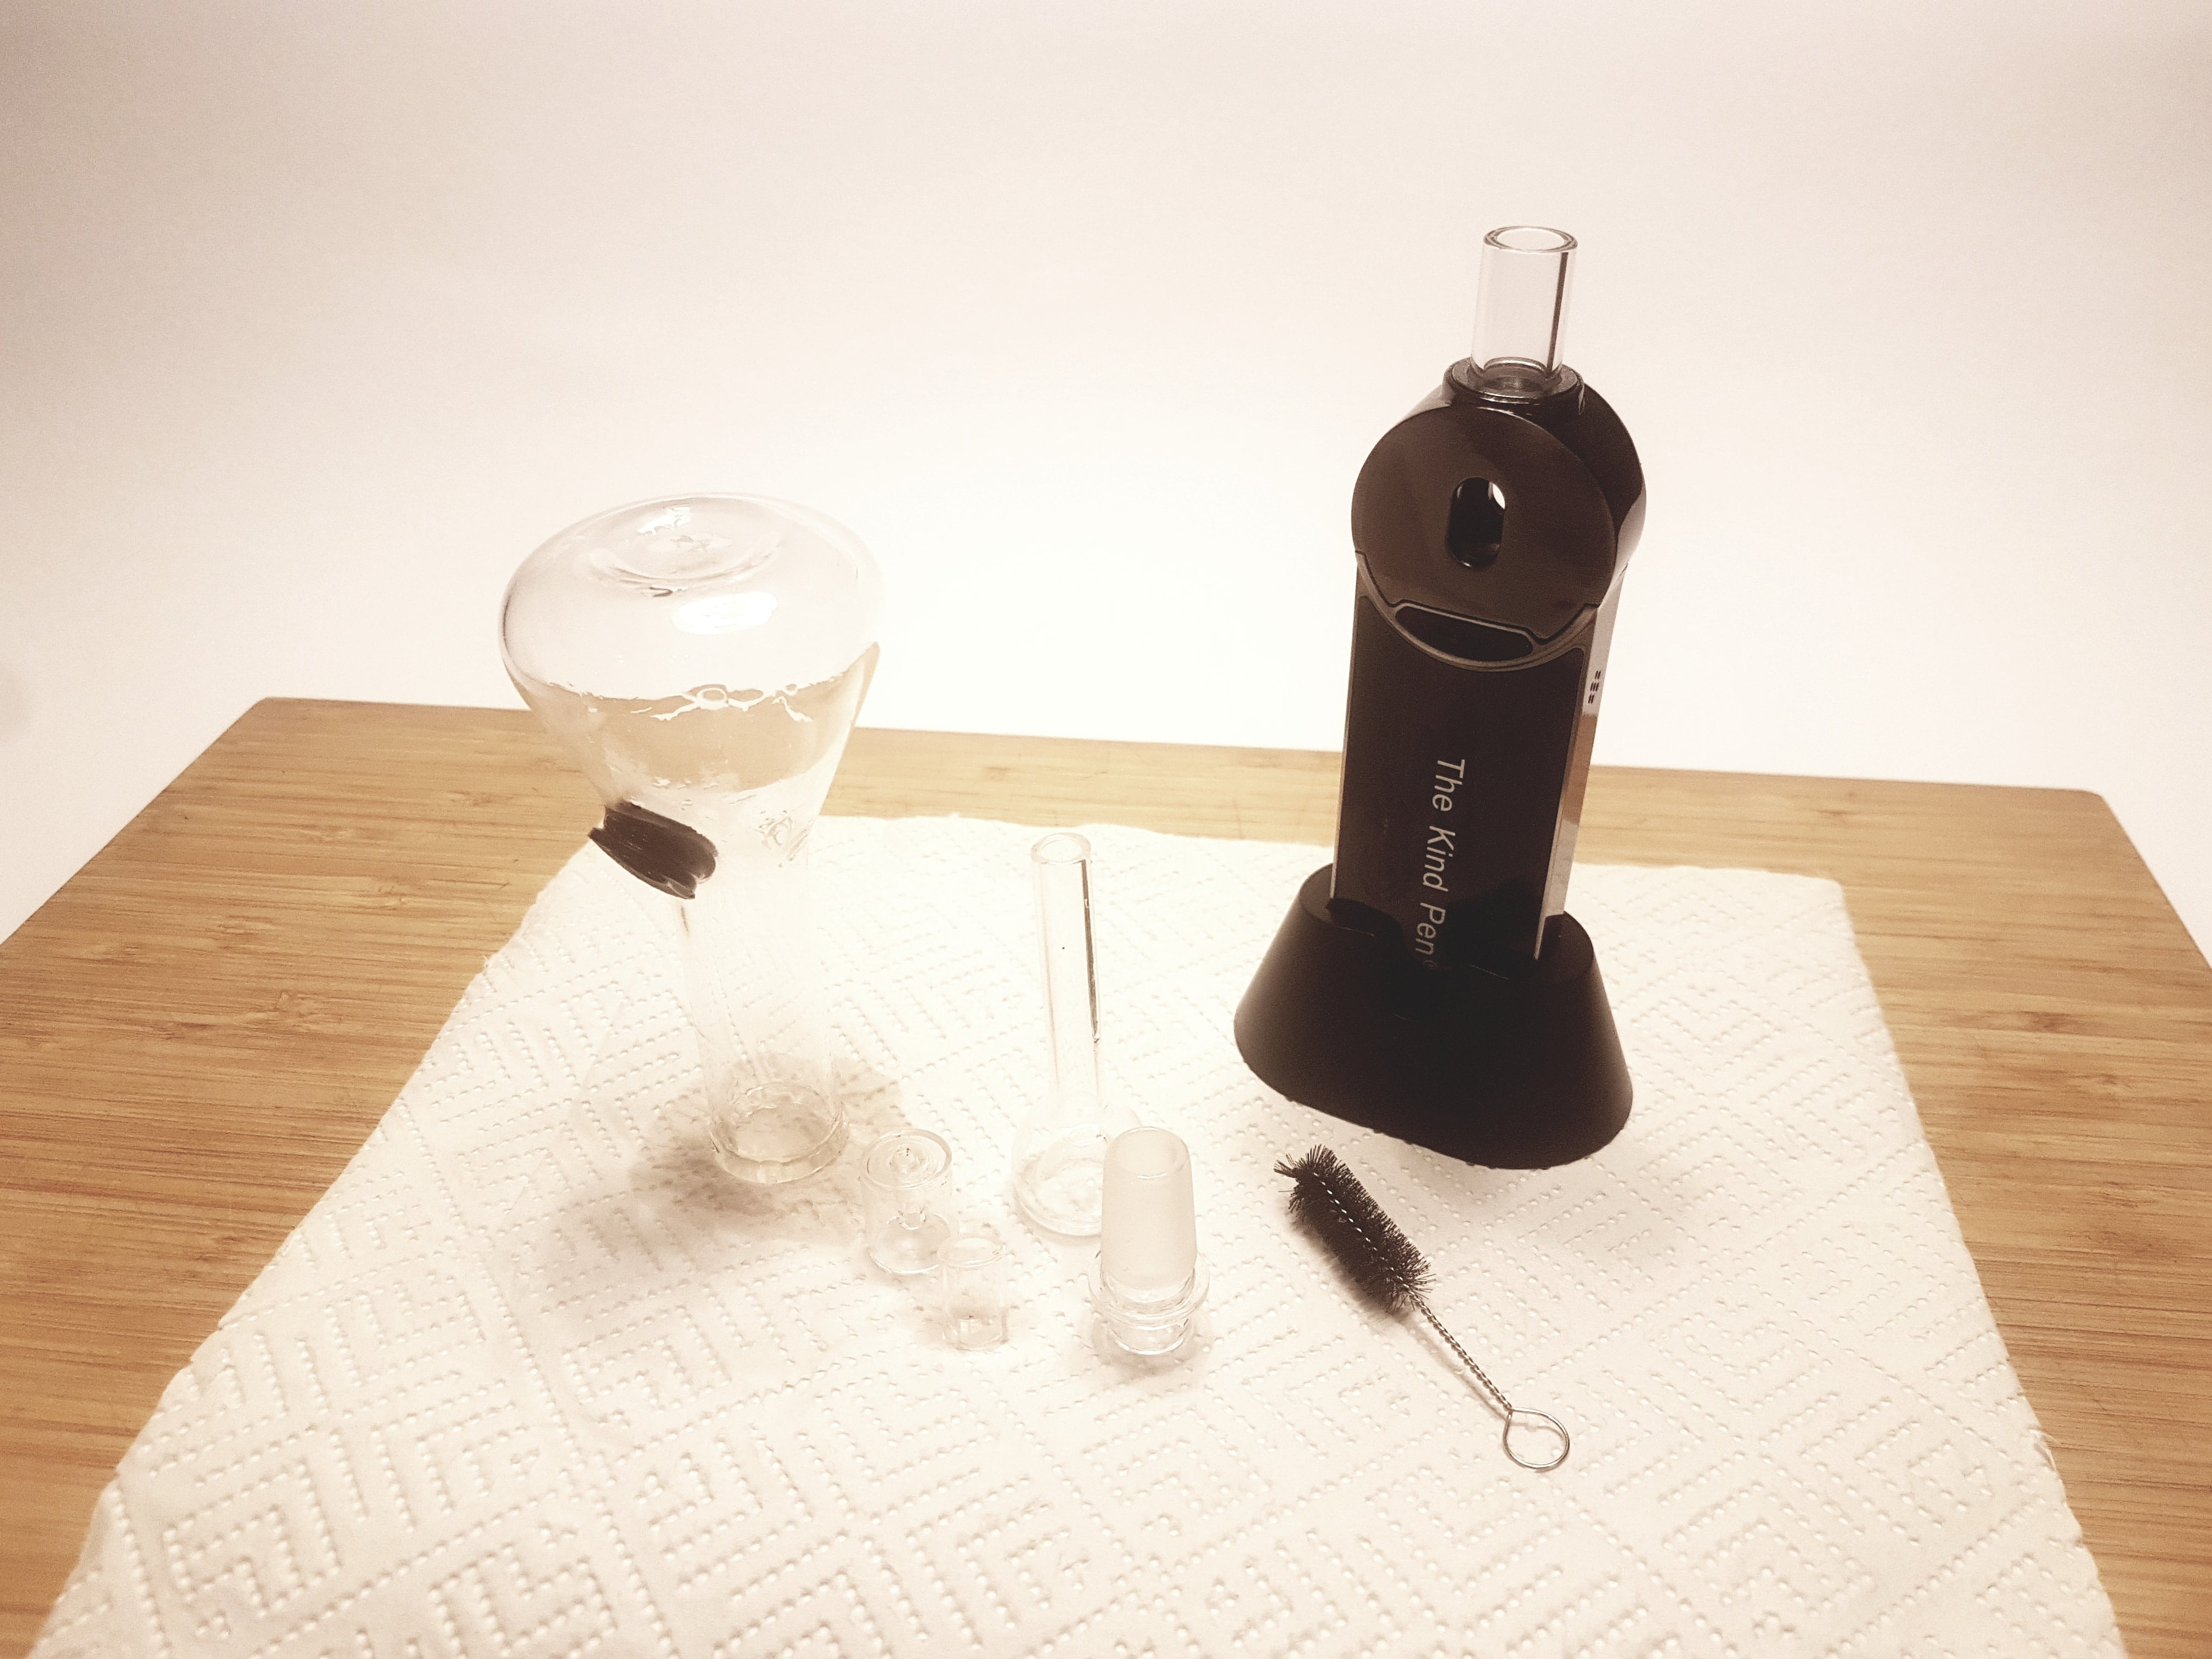
Now that your glass devices are squeaky clean, give them one final rinse in clean water and dry them off with clean paper towels. Take extra care with the small pieces during assembly – you don’t want to break anything now that you’re finally done with the cleaning process.
That’s it – you’re done!
Why [& How Often] Should You Clean Your Vape’s Water Bubbler?
Did you ever wonder why are clean bongs and bubblers [and a clean pipe, for that matter] important?
Well, think about what happens when your dab rig goes months without regular maintenance.
With regular use and smoke coming in all the time, and dirty water staying inside your pieces for a long time, you’re creating a breeding ground for bacteria and mold, for example.
Cleaning your bubbler every few weeks after regular use, means that you’ll get:
- better, cleaner flavor
- no chance of falling ill
- and you’ll extend the life of your gear.
Bottom line – if you don’t want to do it for your health, do it so you get the right flavor of the weed! And that’s the whole point of using a bubbler, especially with your vaporizer.
[To find out how to clean your vapes and vaporizers, check out this link.]
The OG Jams Vaporizer is a Premium Weed Vaporizer
[comes with a FREE BUBBLER + GRINDER combo]